Docs / Getting started
Start here
Your first published link, in six steps.
recto reads your site, finds the pages nothing links to, and links them using words you already published. Here is the whole path — from sign-in to a live link on your site — in about half an hour. You approve every change.
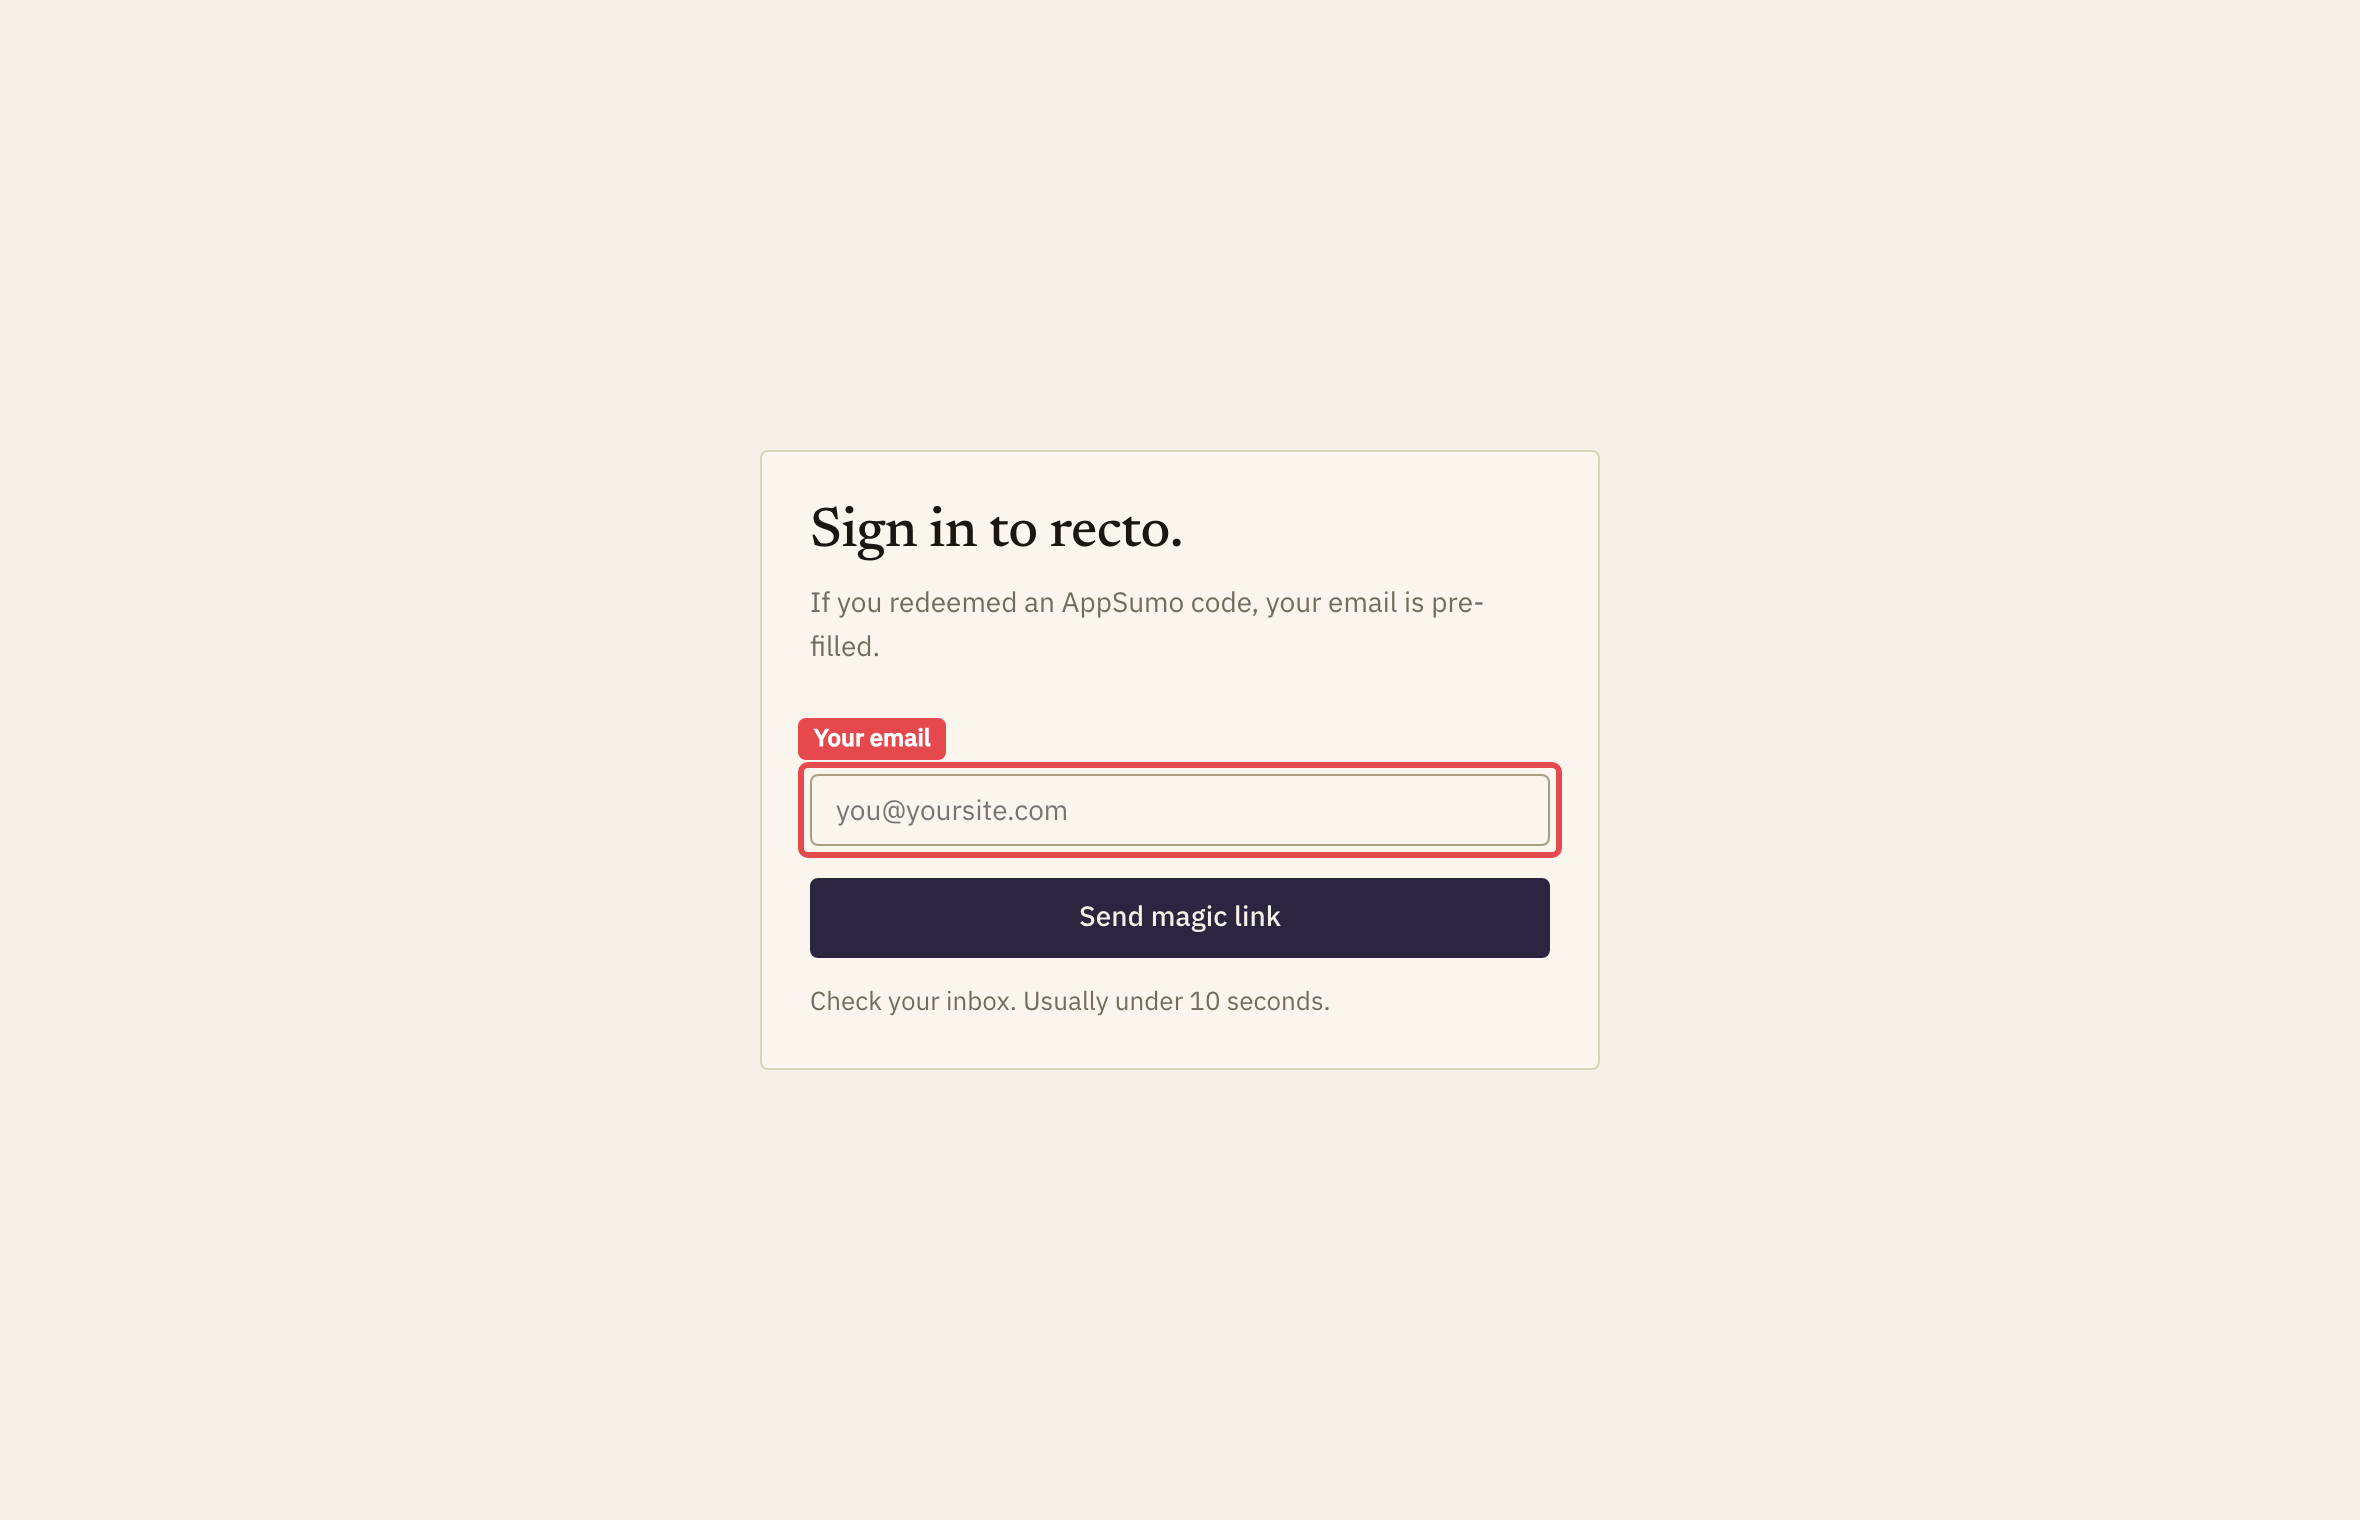
1Sign in
recto uses passwordless sign-in. Enter your email on the sign-in page and we mail you a magic link — there's no password to remember. Click the link and you're in.
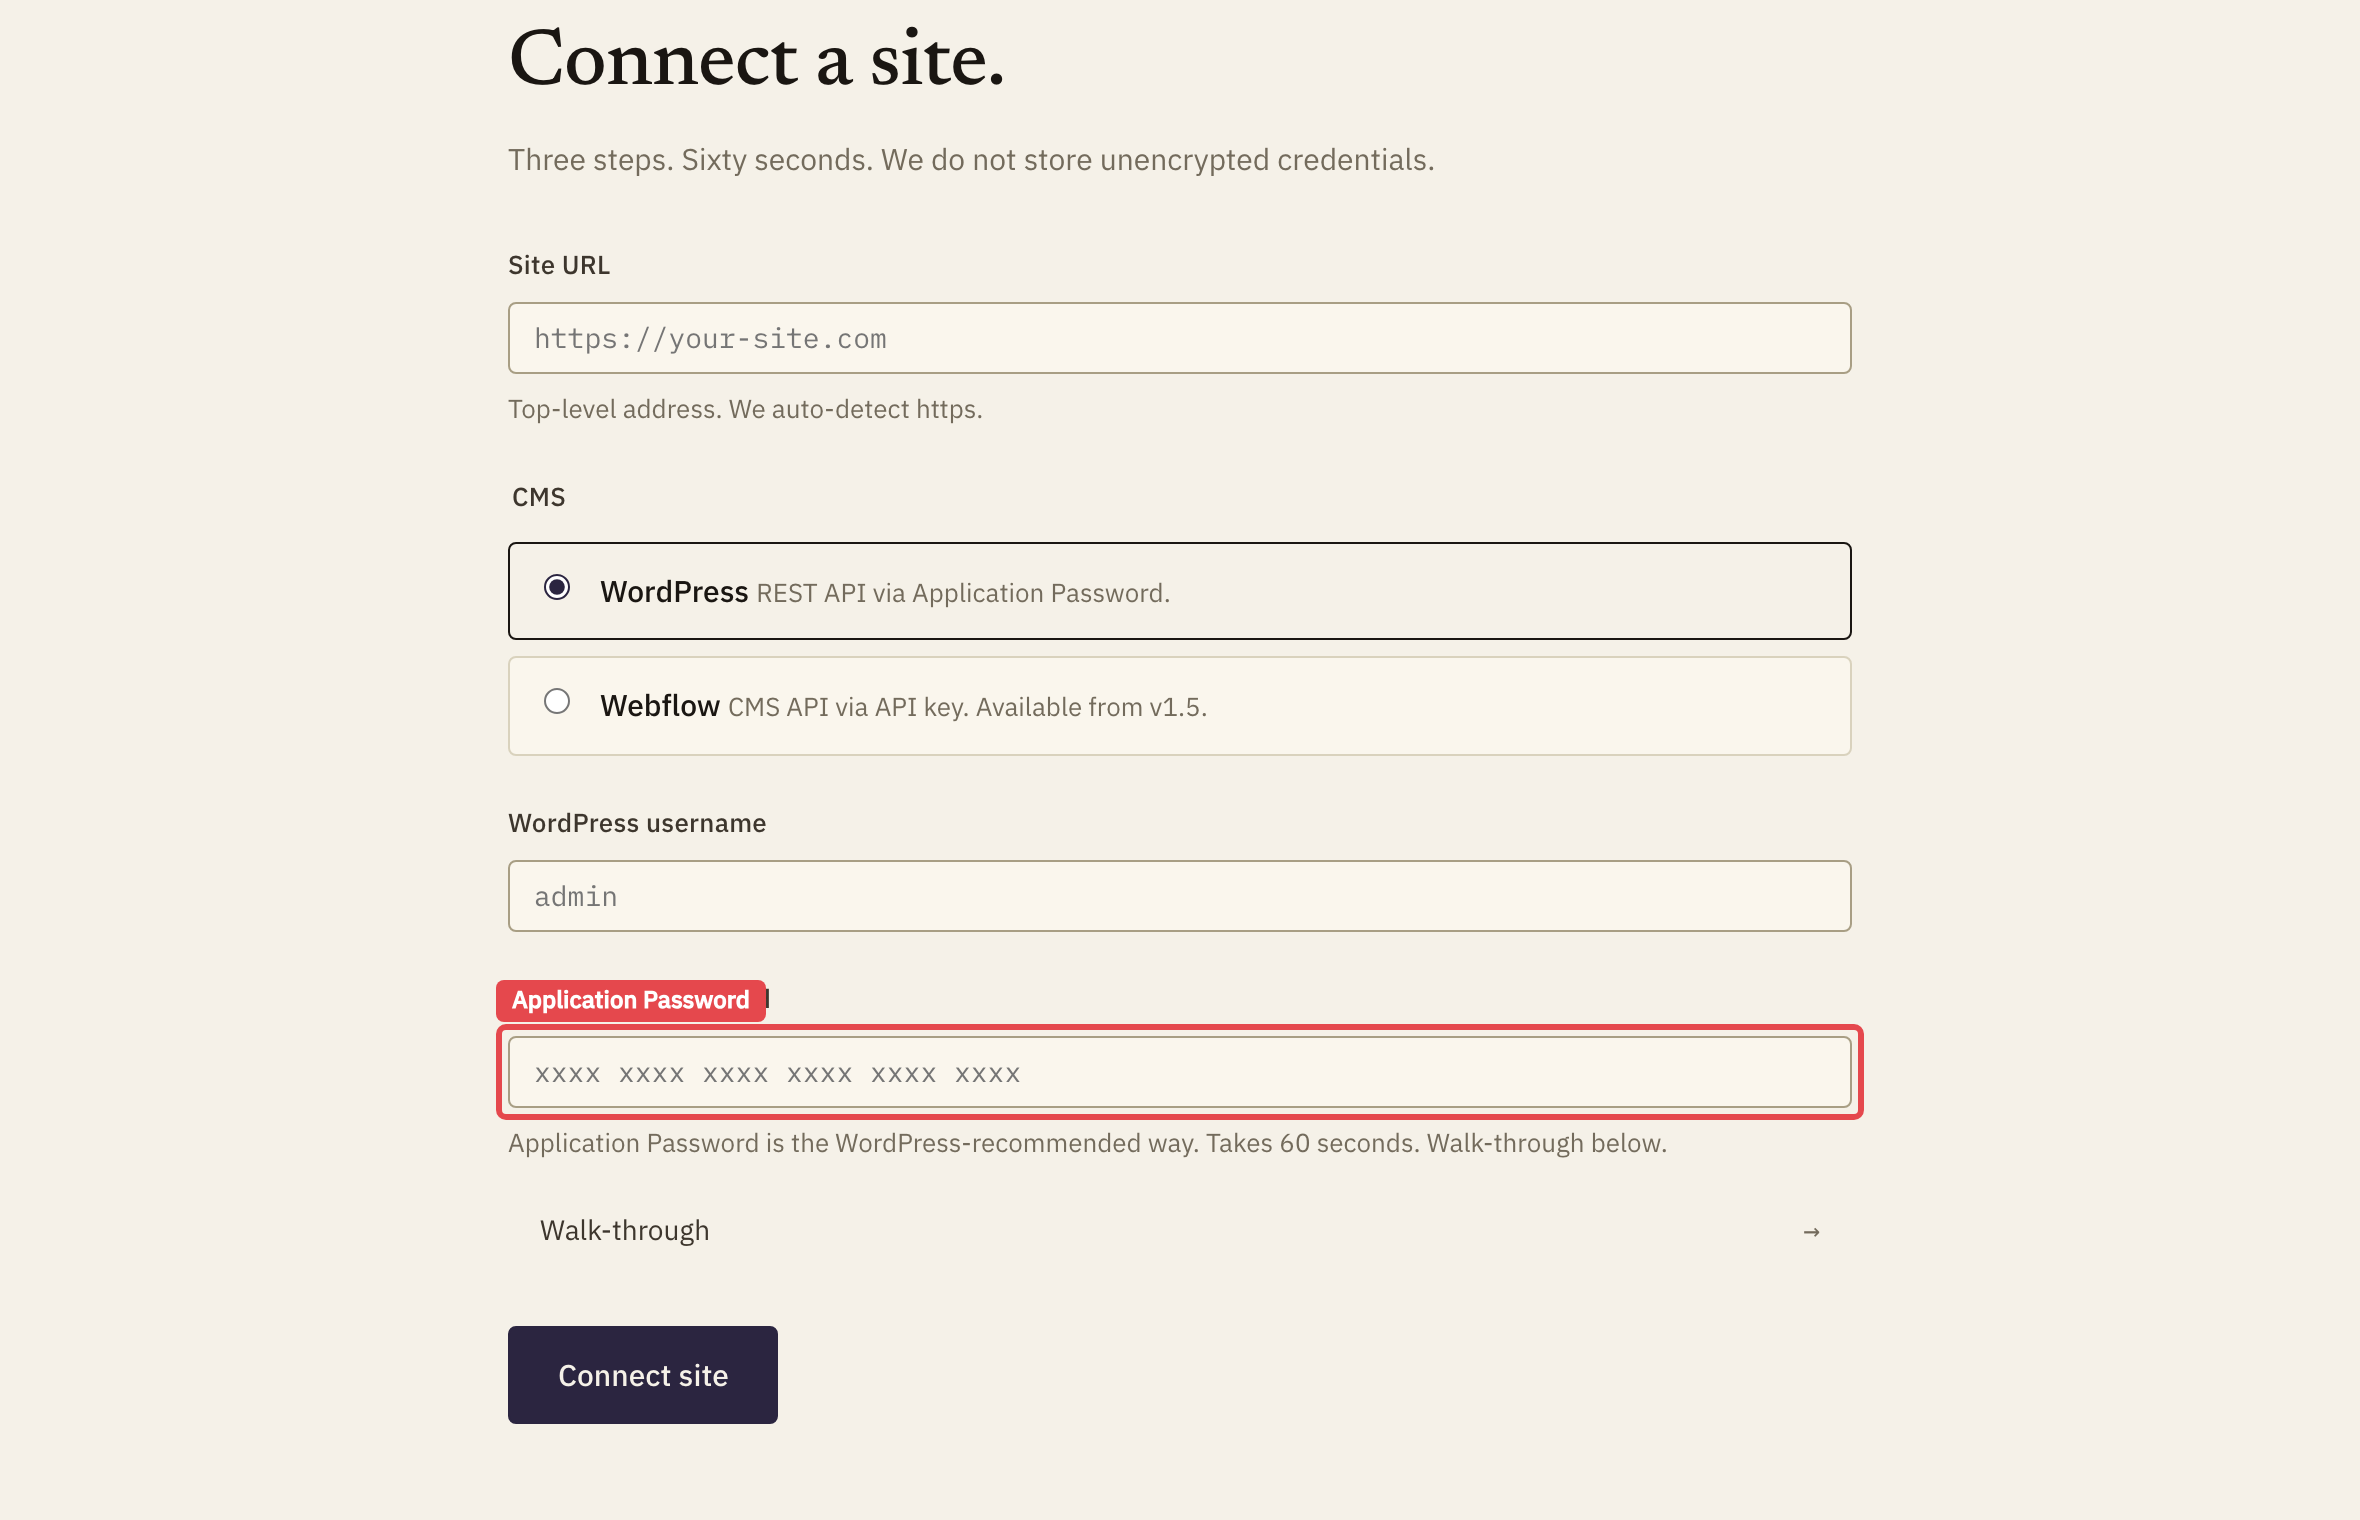
2Connect your WordPress site
recto publishes links back to your site through WordPress's own REST API, using an Application Password — a scoped credential you can revoke any time, separate from your login password. Create one under Users → Profile → Application Passwords in WordPress, then paste it into recto with your site URL and username.
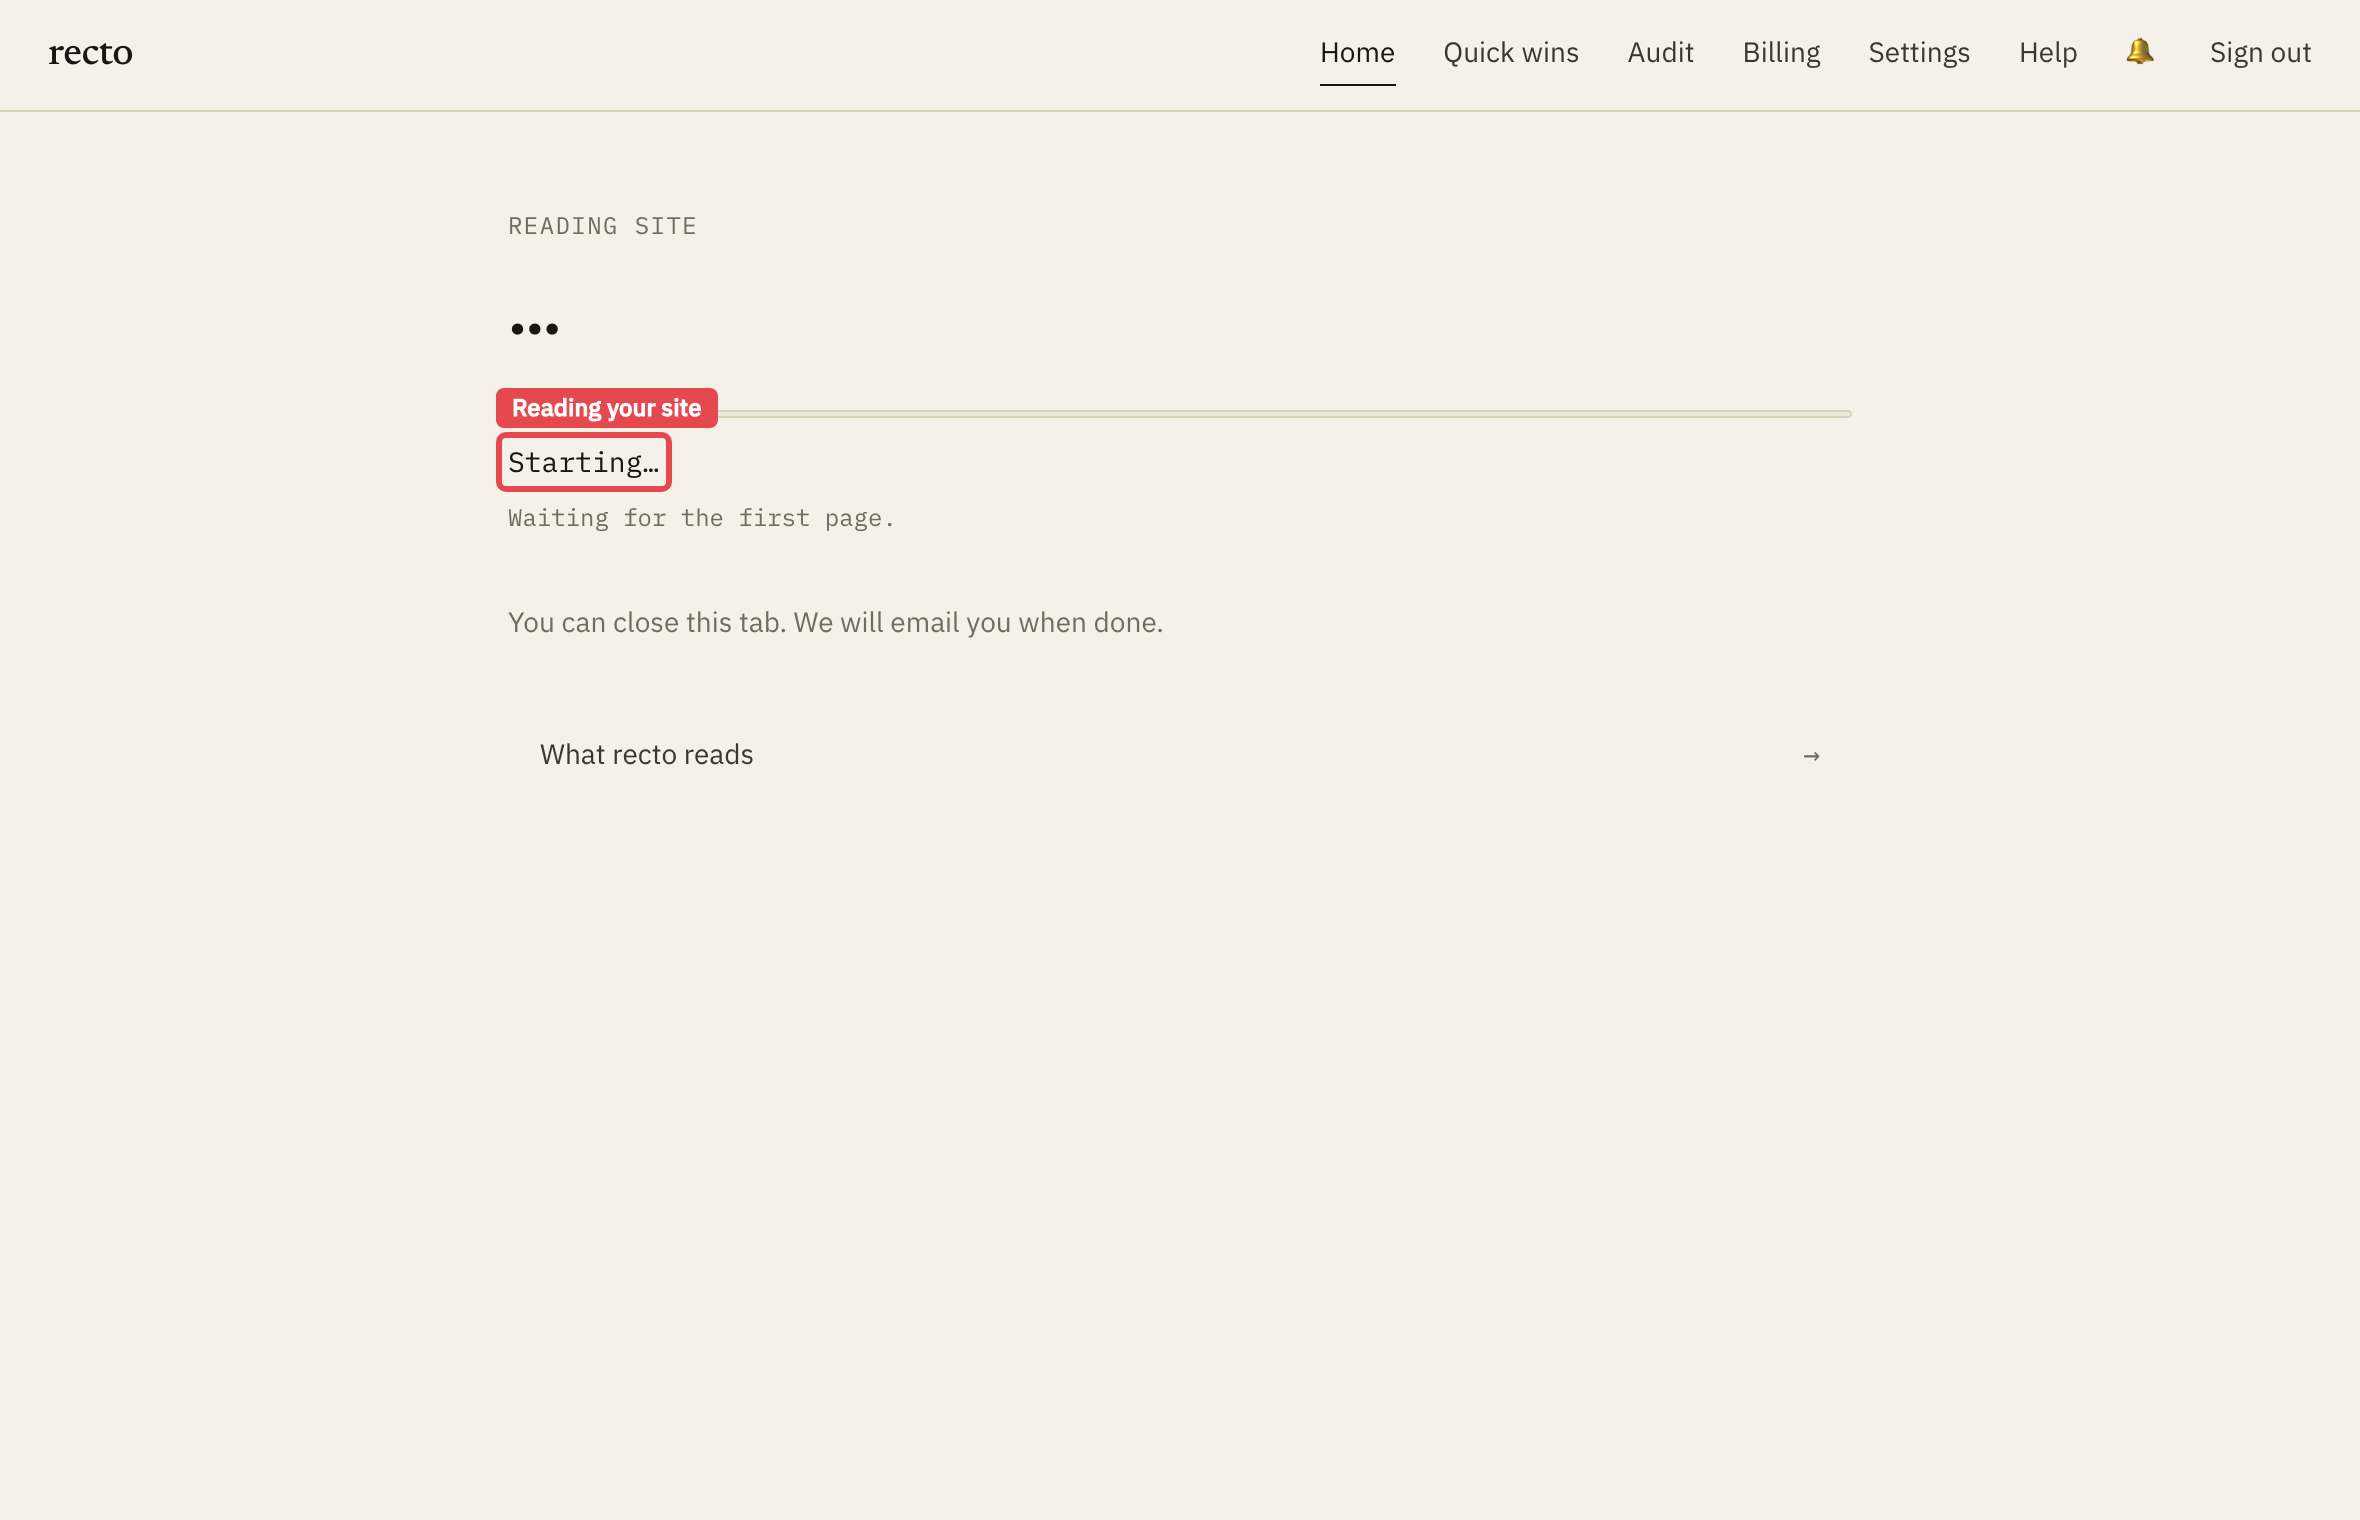
3Read the site
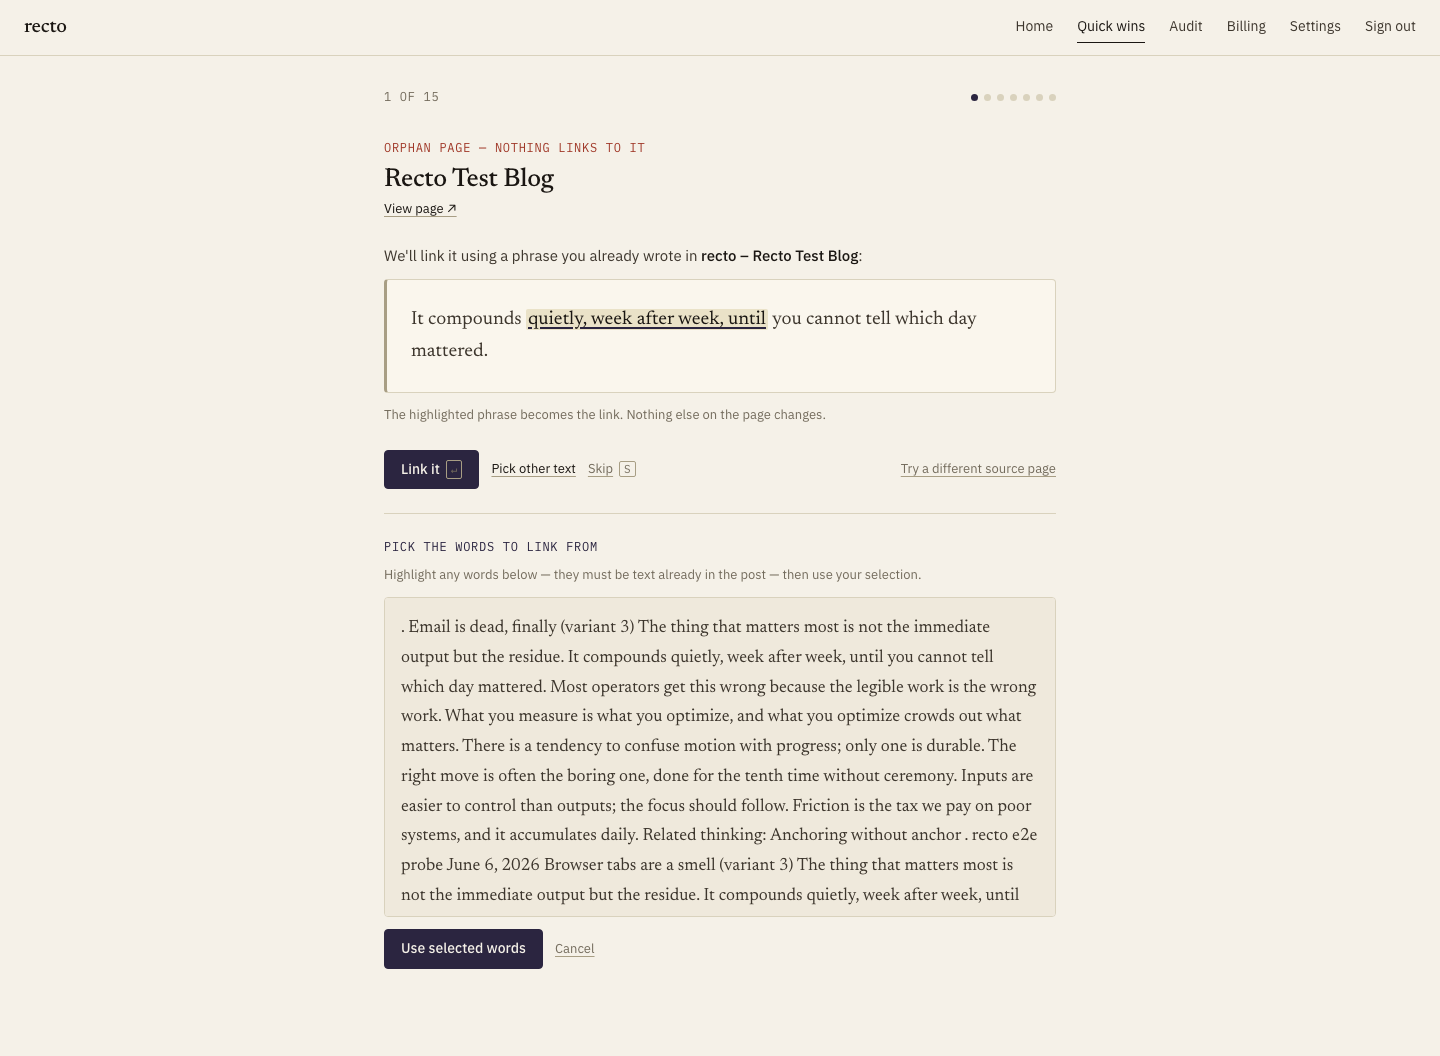
recto crawls your published pages in one pass — up to 10,000 — and builds the internal link graph. A page that nothing else links to is an orphan: live, indexable, but invisible to readers who follow your internal links, and starved of the link equity that helps it rank.
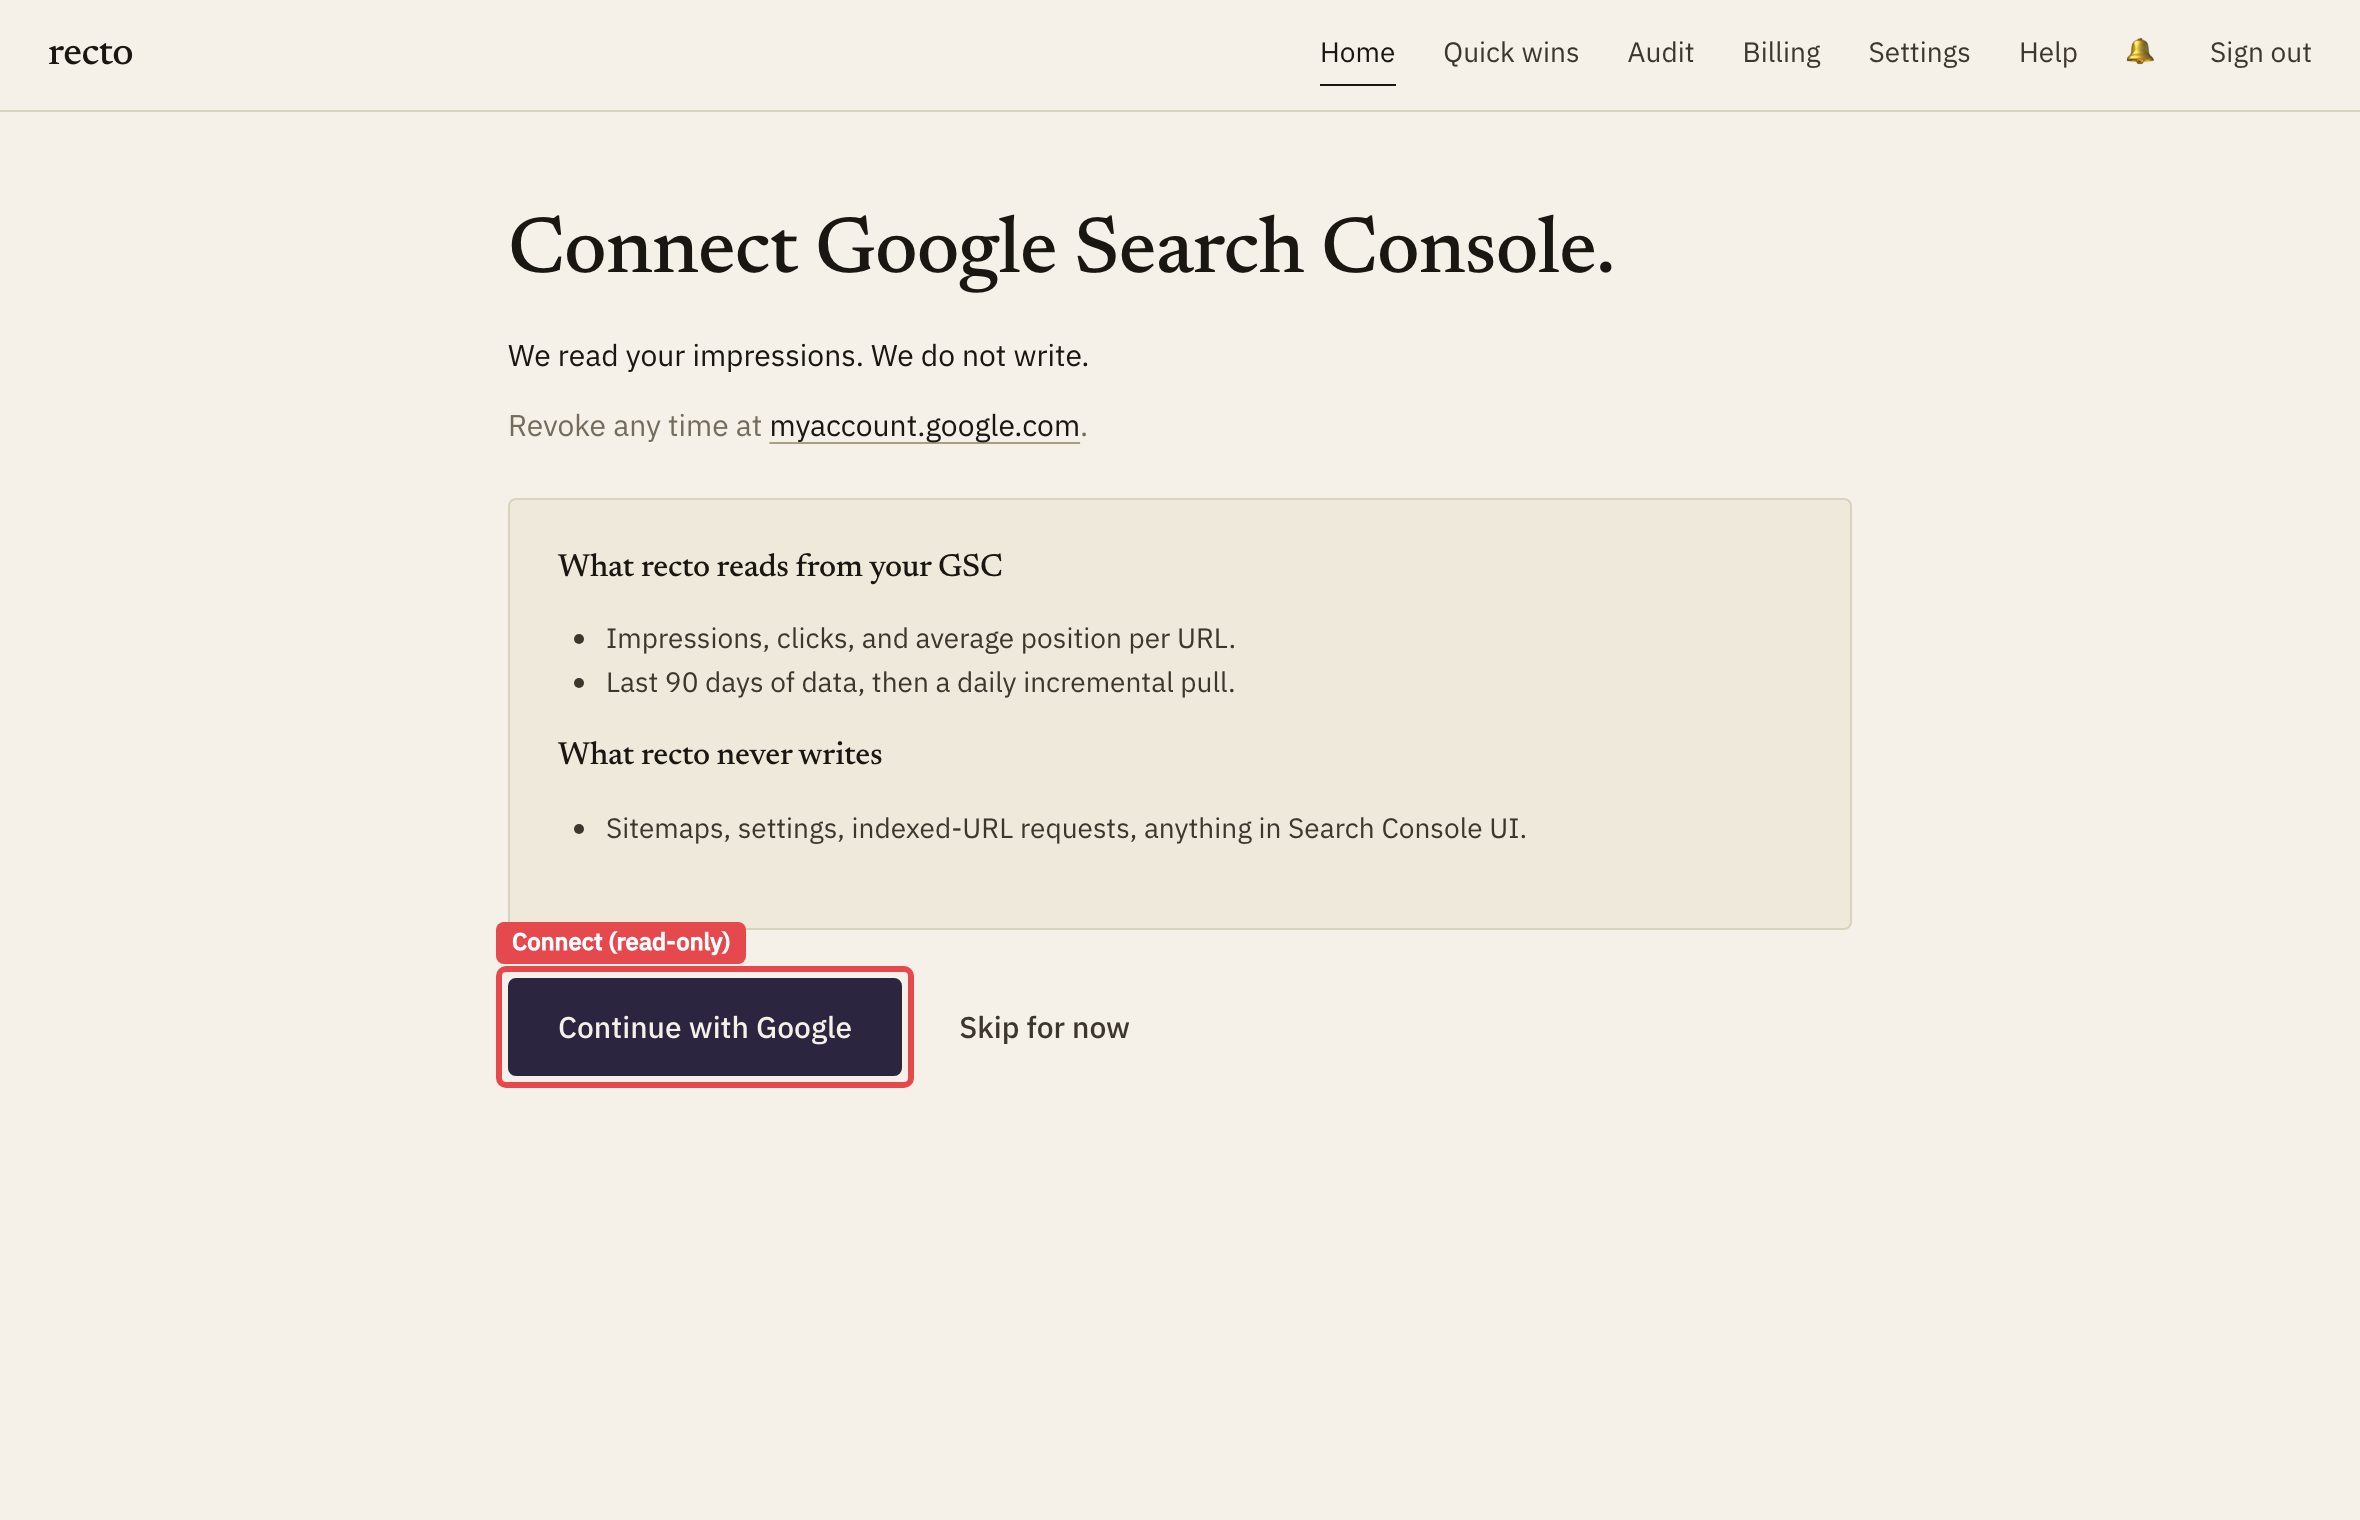
4Connect Search Console (optional, recommended)
This is the step that makes recto different. Connect Google Search Console and recto ranks your orphans by the impressions they're already earning — so you fix the page bleeding the most traffic first, not just the deepest one. recto reads your query and impression data; it never writes to Search Console.
5Insert your first link
Open the top orphan. recto proposes paragraphs from related posts where a phrase you already wrote can become the link to the orphan — your sentence is unchanged, one phrase simply becomes a link. Read the suggestion, pick the paragraph that fits, and approve it. Nothing publishes without your click.
6Confirm it's live
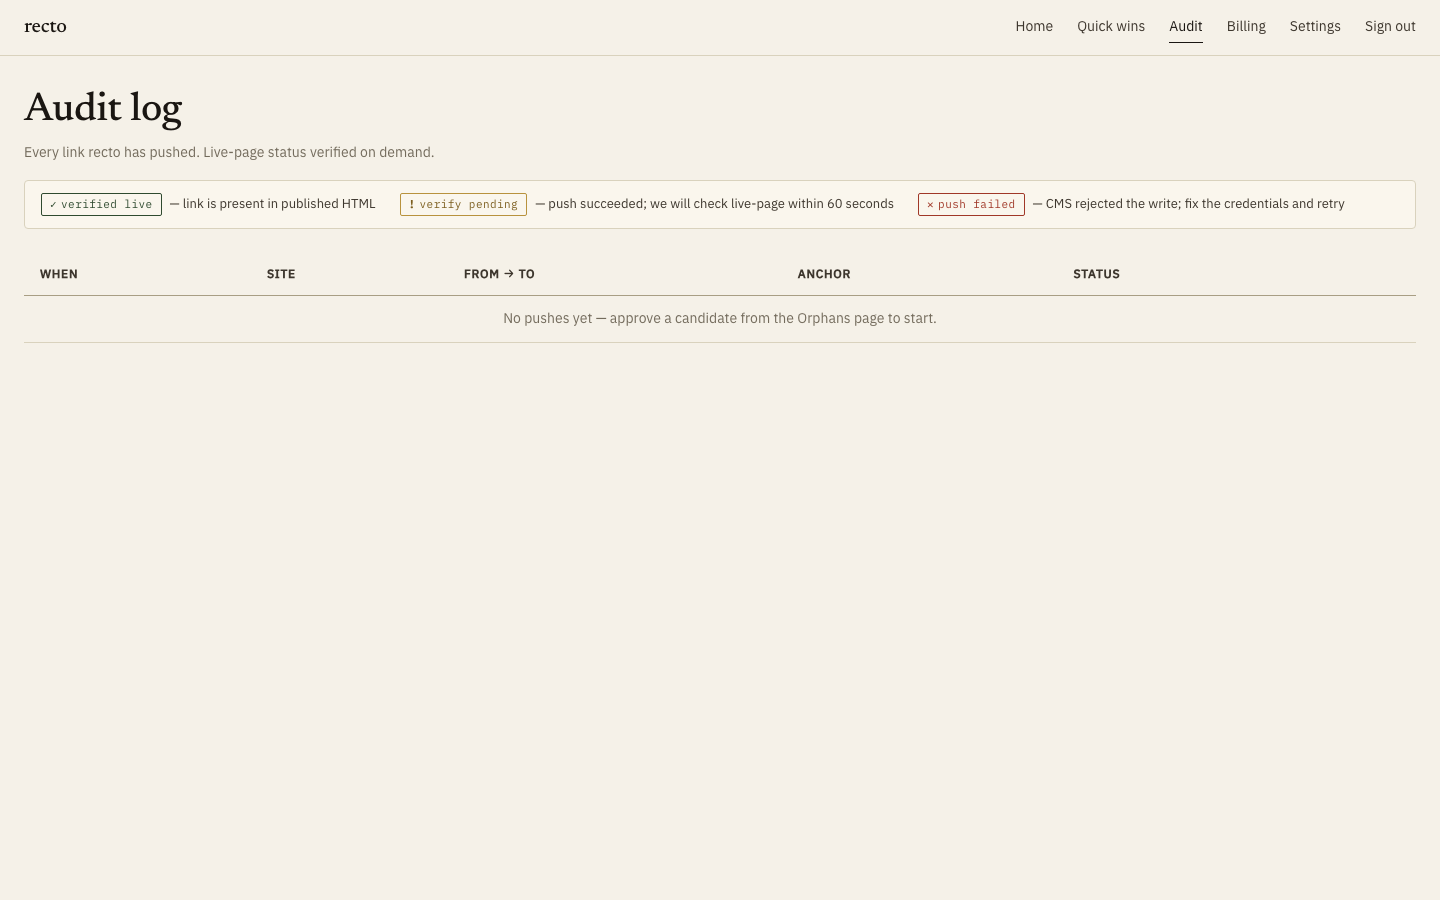
After a push, recto re-fetches the published page and confirms the link is present in the live HTML — so "done" means actually on your site, not just queued. The card flips to verified.
What's next
- Out of free anchor suggestions? Bring your own key and the credit meter stops.
- Running more than one site? Add another site by stacking a code.
- Want the full picture of credits? See Anchor credits.