Docs / Connect Search Console
Guides
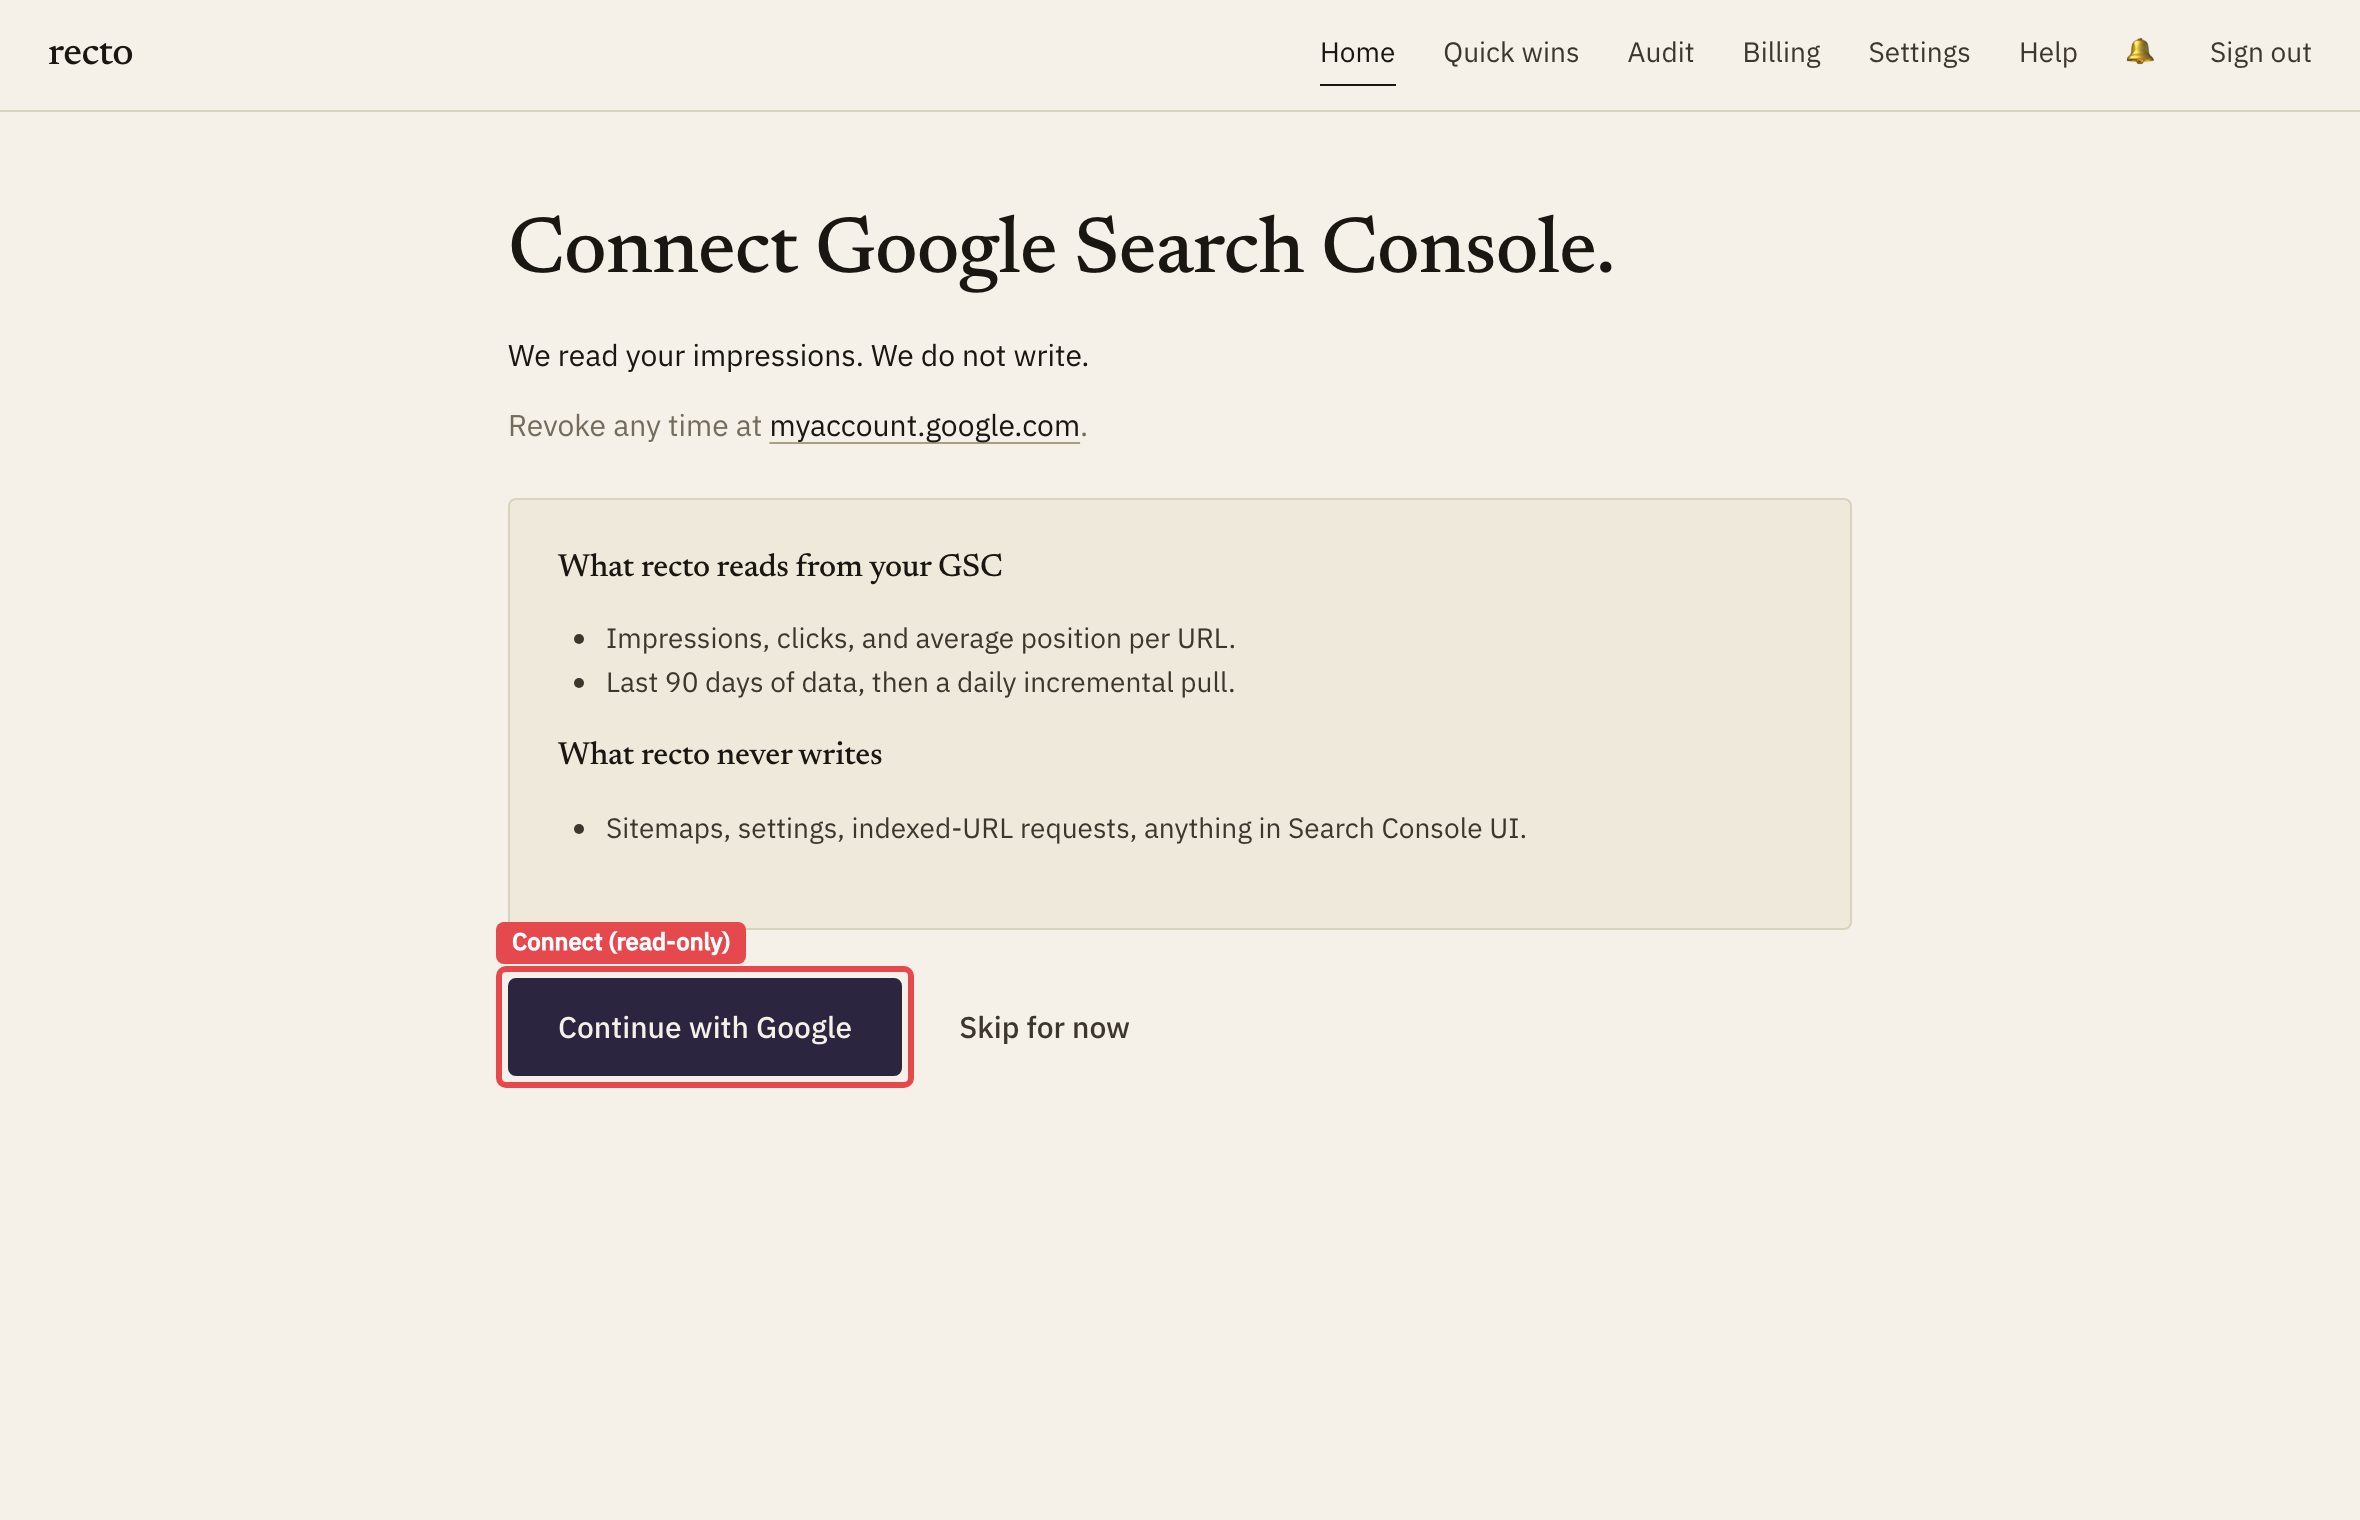
Connect Search Console (read-only).
This is the step that makes recto different. With Search Console connected, recto ranks your orphans by the traffic they already earn — so you fix the page bleeding the most impressions first, not just the deepest one. It is read-only: recto never writes to Search Console.
1Start the connection in recto
On the Search Console screen, click Connect Google Search Console. recto sends you to Google’s own consent page — you authorise Google directly, never by handing recto a password.
2Choose the right Google account
On Google’s page, pick the account that owns the property for your site. If you manage Search Console under a different email than your everyday Google login, choose that one here — picking the wrong account is the most common reason a property doesn’t show up afterwards.
3Grant read-only access
Google shows exactly what recto is asking for: read-only access to your Search Console data. Review it and click Allow. recto reads your query and impression numbers; it has no permission to change anything in your Google account.
4Pick the matching property
Back in recto, choose the Search Console property that matches the site you connected — the domain property (e.g. yoursite.com) or the URL-prefix property (e.g. https://yoursite.com/). recto then ranks your orphans by lost impressions. See Orphans & ranking for how that ordering works.